

Submitting Grade Rosters – Faculty Directions
Once grades rosters are made available by the Registrar's Office, it is the responsibility of the faculty to enter their official grades via myWCU. Faculty should be aware that grades entered into D2L are for student information purposes only. Official grades are required to be entered into myWCU.
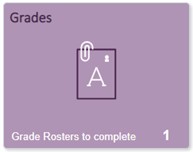
- When a grade roster is available, there will be an alert posted on the Grades tile in myWCU, along with the number of rosters that need to be graded.
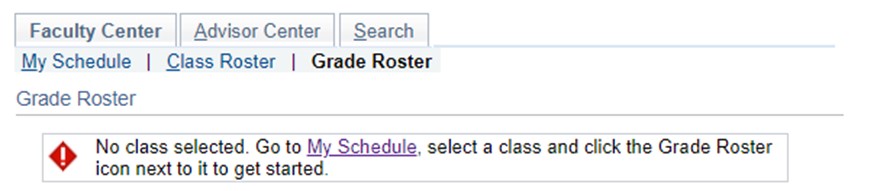
- Click on the Grades tile. If you encounter a message similar to the one below, check the Term.
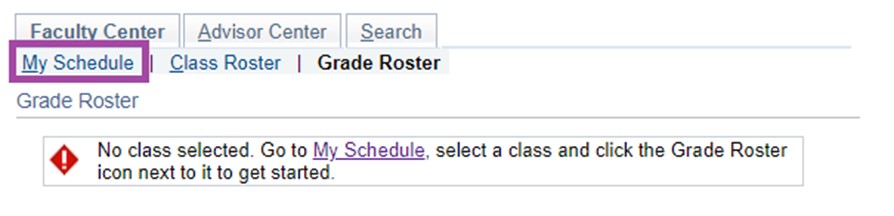
- Click on mySchedule
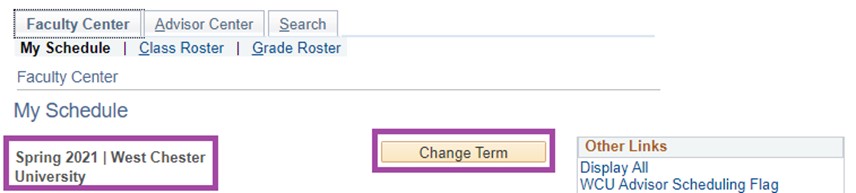
- Make sure the Term we are currently grading is selected. If not, click on Change Term.
- The course should now appear. Click on the Grade Roster icon listed next to the course.

- a. If the icon does not appear, it means that a grade roster for the course was not created. For a roster to be created, we must be in the grading period for the course. If we are in the grading period and you do not see the grade roster icon and you believe it should be there, please email the Registrar's Office at grades@wcupa.edu.
- You can now enter in the grades for each student. To enter a grade, you must select it from the drop down. You cannot type it in.

- A few items to note:
- When a grade of F or Z is entered, two additional columns will appear asking for the Last Date of Attendance and Attendance Comment.
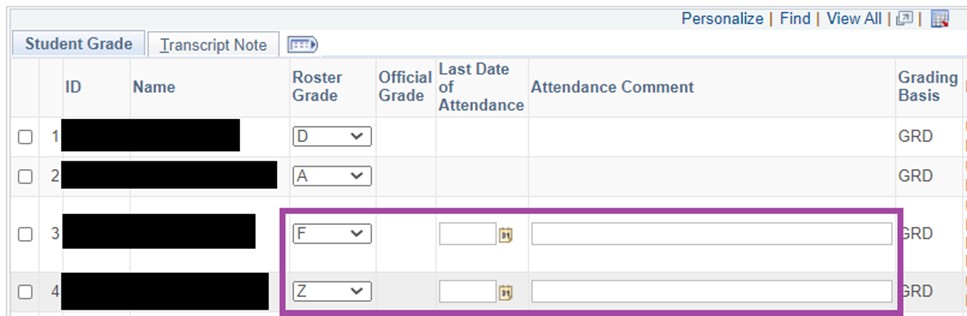
To remain in compliance with Federal Financial Aid, we are required to indicate the last date of attendance for all students receiving a grade of 'F' or 'Z' during the semester. The last date of attendance can have a large impact on students and their financial aid award, therefore we ask all faculty to be as accurate and thoughtful as possible, taking into consideration in class participation, online involvement, submitted assignments, communication, etc.
After a grade of 'F' or 'Z' is entered, the 'Last Date of Attendance' column will become available to populate. If the student has never attended or participated in class, please enter the first day of the semester as the last date of attendance. - Grade rosters only show 20 students at a time. If you have more than 20 students in the course, you will need to navigate to the
additional pages to grade all the students. The navigation arrows are located at
the top of the grade roster.

- You do not need to enter all grades at once. You can click on Save (either in the Grade Roster Action box at the top or via the
Save button at the bottom of the roster) and return later.
 OR
OR 
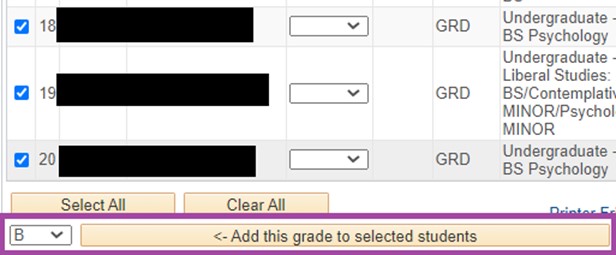
- You can mass assign a grade to specific students. Click on the check boxes to the left of the student names, scroll to the bottom of the roster, select a grade, and click on Add this grade to selected students.
- Once all your grades have been entered, best practice is to click on Save (either in the Grade Roster Action box at the top or via the Save button at the bottom
of the roster). This will ensure that you will not lose your work.
 OR
OR 
- When you are ready to submit your grades to the Registrar's Office, in the Grade Roster Action box, change the Approval Status from Not Reviewed > Approved.

- Click Save

- You will notice that upon Save, you lose the ability to enter grades in the Roster
Grade column.
- You will also receive a confirmation email upon success submission of each grade roster.
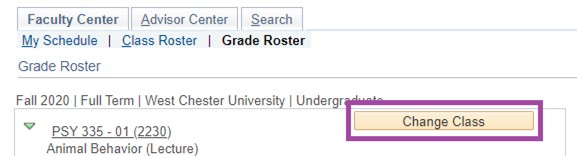
- If you have another grade roster to complete, you can click on Change Class and select the Grade Roster icon listed next to the course.

Need to Make a Change?
If the grading due date has not been reached, you have the ability to access your grade roster and make edits.
- Click on the Grades tile
- Navigate to the Grade Roster
- In the Grade Roster Action box, change the Approval Status from Approved > Not Reviewed
- Click Save

- Update the grade(s) for the student(s).
- Click on Save (either in the Grade Roster Action box at the top or via the Save button at the bottom
of the roster). This will ensure that you will not lose your work. OR

- When you are ready to re-submit your grades to the Registrar's Office, in the Grade Roster Action box, change the Approval Status from Not Reviewed > Approved.
- Click Save

Content Manager: Registrar's Office