
Setting Up an Appointment Campaign
What: Appointment Campaigns let staff reach out to specific student populations and encourage them to schedule appointments.
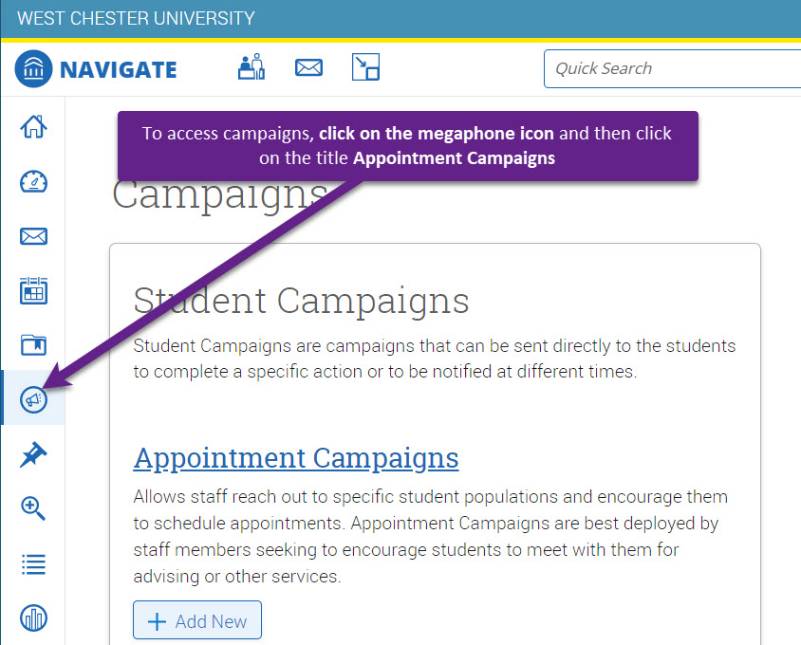
Where: You can access Appointment Campaigns via the Quick Links section of the Staff Home page or by opening the Campaigns page by clicking the Campaigns icon (megaphone) on the blue navigation bar.
Who: Appointment Campaigns are best employed by staff members seeking to encourage students to meet with them for advising or other services.
Conditions: In order for Appointment Campaigns to work successfully, you must have both calendar sync and availability set up, as well as have the ability to create appointment campaigns. You also need to have access to Advanced Search to create a list of students for your campaign
Navigating to Campaigns:
Login to Navigate.
- Staff Homepage at login.
- Look for Campaigns… on the left-hand side Quick Links section.
- Select Appointment Campaign from the right-hand side, under Actions.
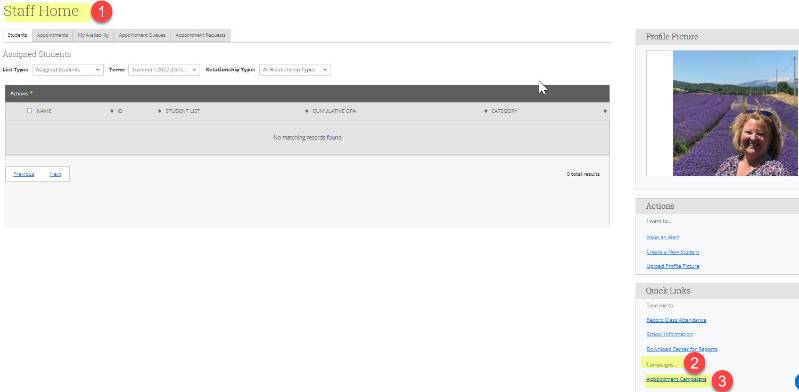
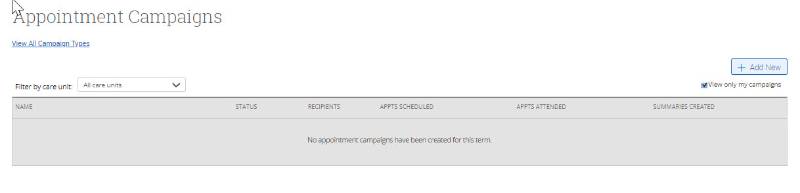
Click on +Add New
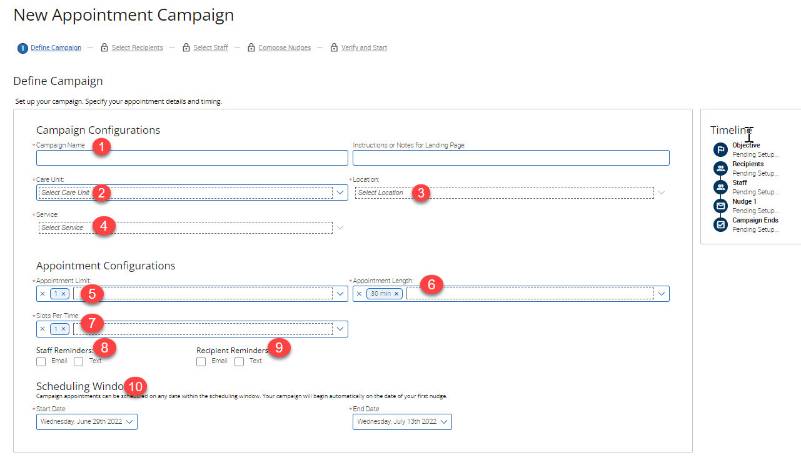
Define Campaign
- Name your campaign: YOUR INITIALS need to be the first part of the name of the campaign (Students will not see the name of the campaign)
- Select the Care Unit (Faculty should chose Faculty Office Hours)
- Location-Choose your location. (Faculty should chose Faculty/Advisor Office)
- Under "Service", choose the services for which you are available.
- Appointment Limit-how many appointments can the student schedule for the campaign? (default is 1)
- Appointment Length-how long do you want the appointment to last?
- Select one slot per time for one-on-one advising
- Set up Staff reminder Email/Text or Both
- Set up Recipient reminder Email/Text or Both
- Set up start and End date, Click Continue
Add Recipients to the Campaign
There are various ways you can add students to your Appointment Campaigns.
You can search by a name or keyword
You can also use the dropdowns in the list of specific characteristics:
- Student Information
- Enrollment History
- Area of Study
- Term Date
- Assigned To
- My Students Only (checkbox next to Search button)
- Check them all out to see which one reflects your needs.

Adding Students: Use the advanced search feature to search for students you would like to participate in the campaign.
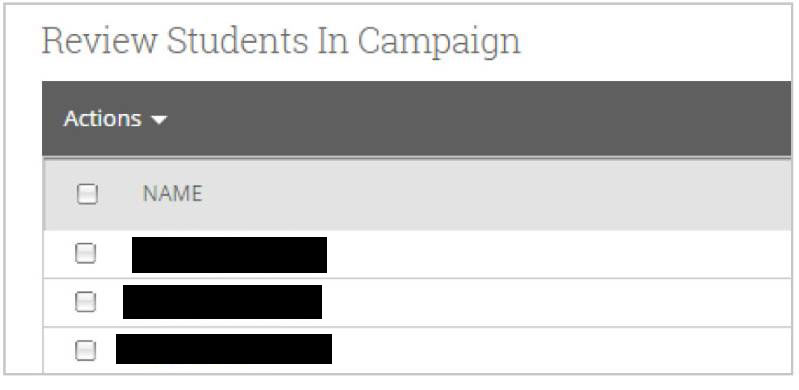
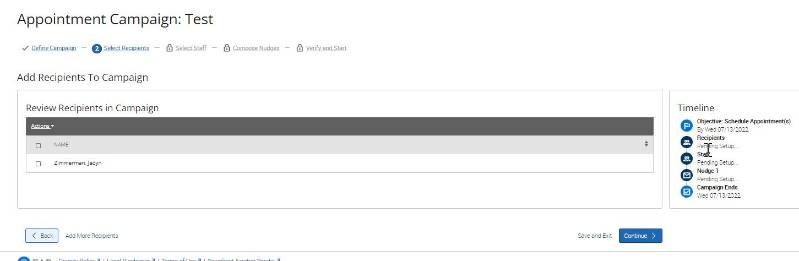
Review Recipients:

Check off student names you want the campaign notice to be sent to, click Continue.
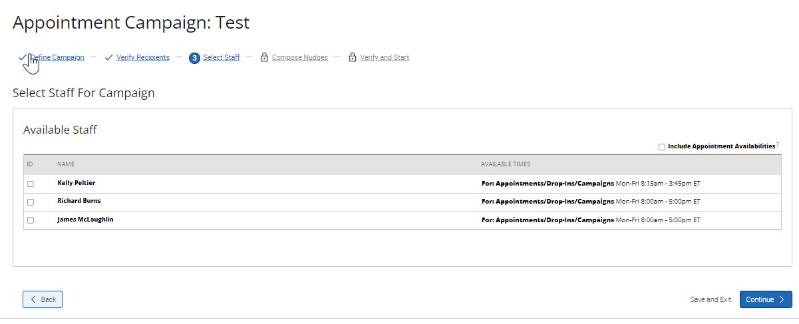
Select staff for the campaign
Check off your name and if applicable, select other advisors to join the campaign. Student will see a dropdown and can choose a specific name
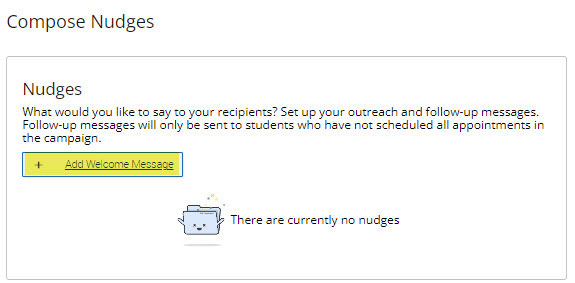
Compose Nudges:
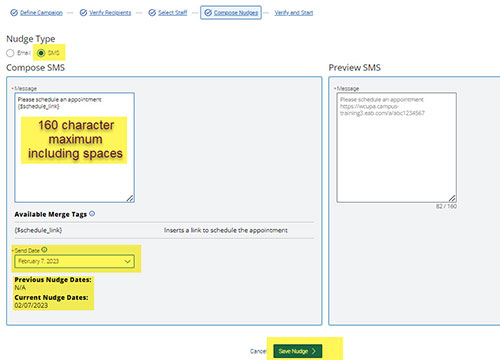
Nudges can be sent via Email or Text (SMS). A best practice is to send the original Welcome Message as an email and the following nudges as Text (SMS) messages. The Text messages are limited to 160 characters (including spaces).
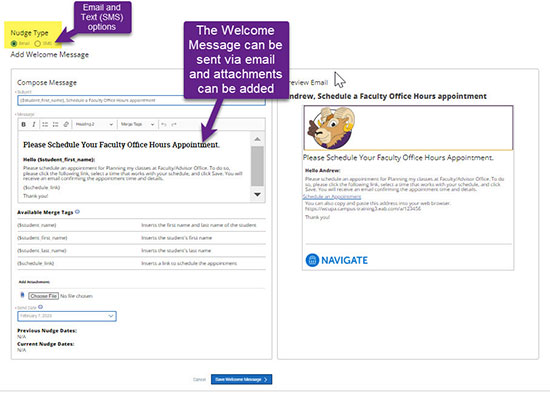
The first step is to Add a Welcome Message.
Welcome Messages are pre-created using the parameters you originally chose for your appointment campaign. You may customize the message, but DO NOT DELETE the {$Schedule link} verbiage. This link is a shortcut and takes the student directly to your available appointments calendar. When a student clicks on the link they can easily review your available appointments and choose when they want to meet with you.
Nudges are a way to remind the students to make an appointment with you. A nudge is only sent to students who have not made an appointment with you. Any student who has already made an appointment will not receive a nudge. Multiple Nudges can be scheduled throughout the campaign. Schedule your first nudge 24 hours after your Welcome letter goes out to alert the student via text to check their email. Follow-up texts can be sent to remind the student they still need to schedule their appointment with you.
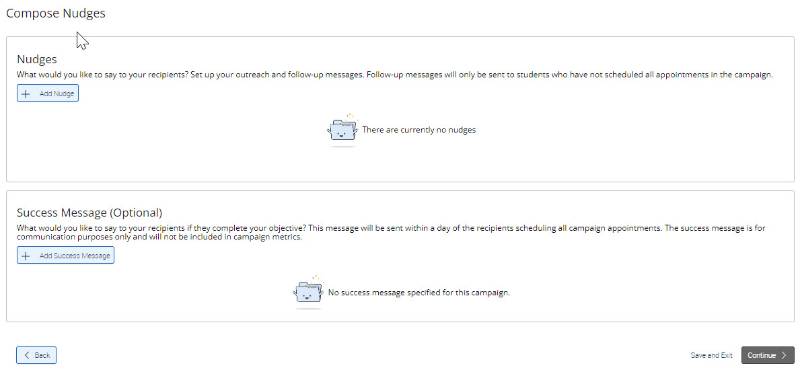
Add Nudge:
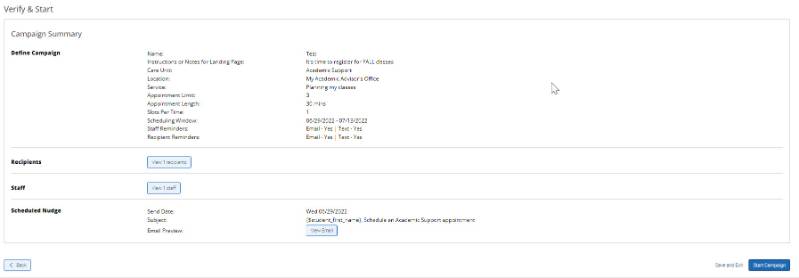
Verify and Start: Review the information and click Start Campaign as the final step
The flexibility of the Appointment Campaigns is that they can be edited to add additional students, change the end date, or add additional Nudges.
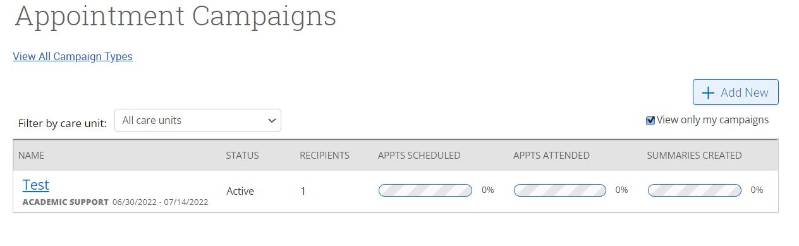
Once you have sent your Appointment Campaign, You will see the statistic page for your Appt. Campaign.
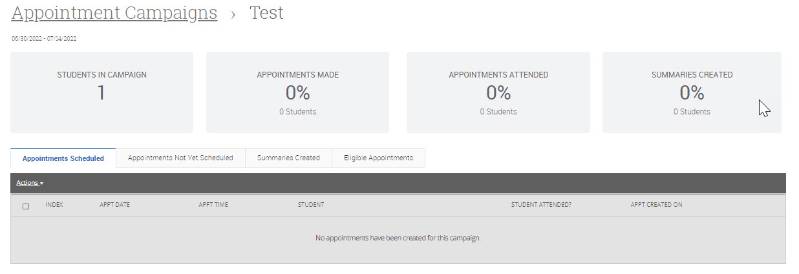
Accessing your Appointment Campaigns
A list of your Appointment Campaigns will appear, you can see # of recipients, how many appointments have been scheduled, Appointments attended, and summaries created detailed in percentages.
Note: it defaults to having the View only my campaigns checked off.
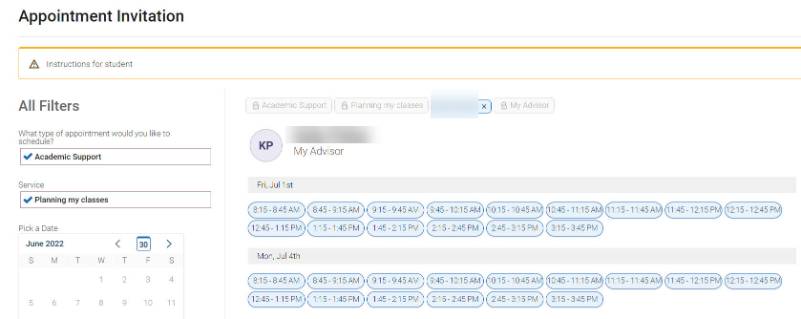
What do the students see? On the student’s homepage the appointment campaign will send the student a message to make an appointment with you

When they click on the link – the staff members calendar will appear and students can chose a date and time that is convenient to them.
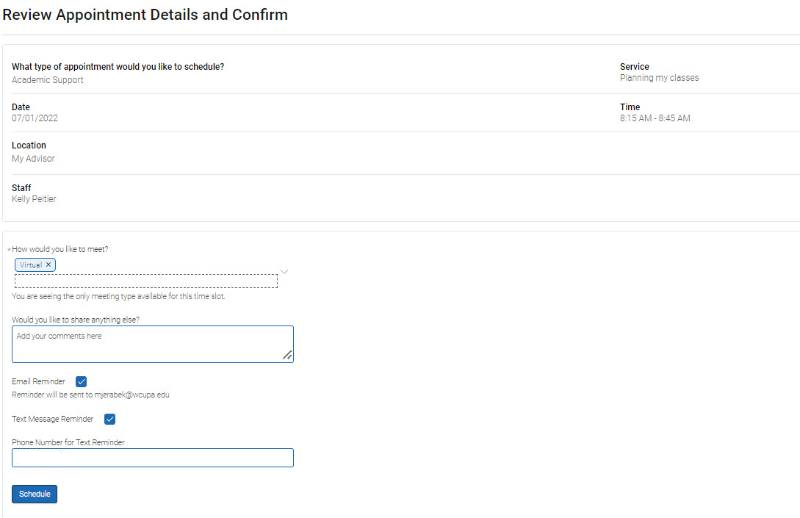
Once the student picks a date and time, they will see a summary of the appointment and the student can add additional comments. Note: Email and text reminder is checked off (if you set reminders when you set up the original appointment campaign)
Final message to student:
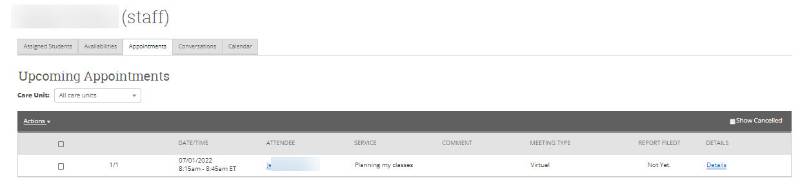
What is seen on the Advisor’s Navigate homepage? Click on the Appointment Tab to see the appt.
Report on Appointment
To submit a report on the appointments you have with students, follow the steps below.
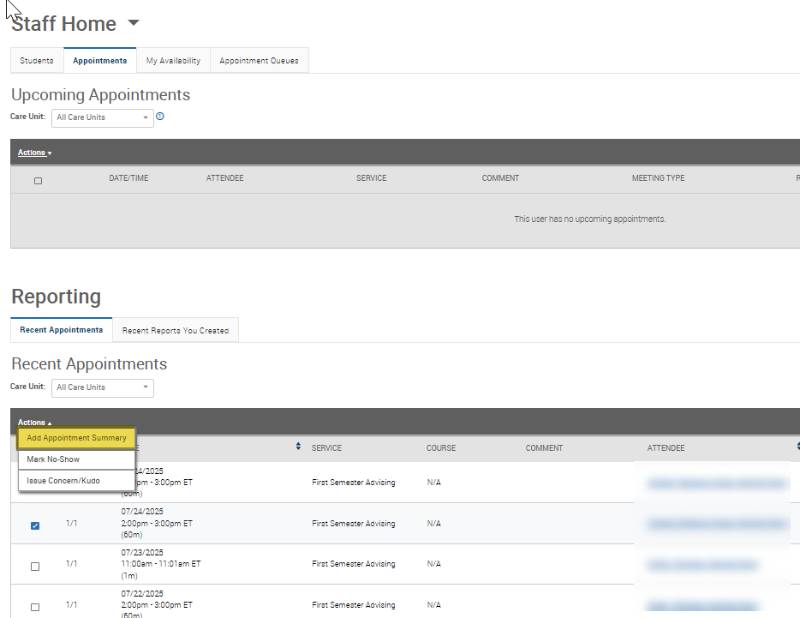
- Go to your Recent Appointments section
- Check off the name of the student you just advised.
- Click on "Actions"
- Scroll down and click on Add Appt Summary
A new page will open.
Complete the details on the left side of the form. Many fields may be already be completed if the student is in an appointment campaign, because it is pulling from the student’s information related to the appointment.
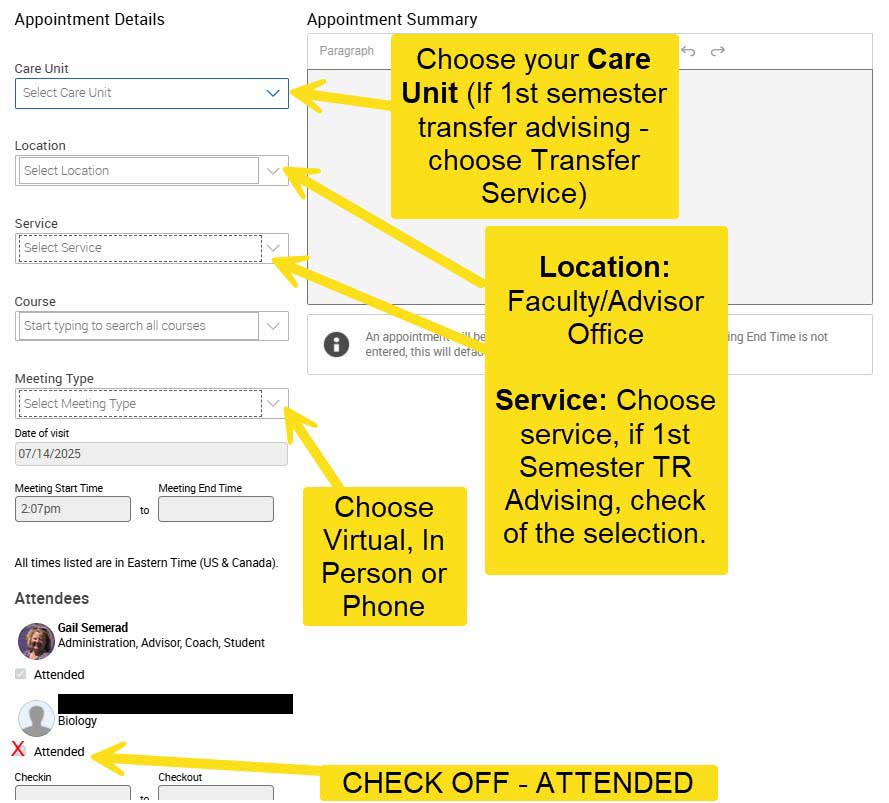
Report on Appointment
- Please review the fields to make sure they are accurate
- Many of the fields are auto filled from the information the student entered when making their appointment, otherwise see the examples outlined in this document.
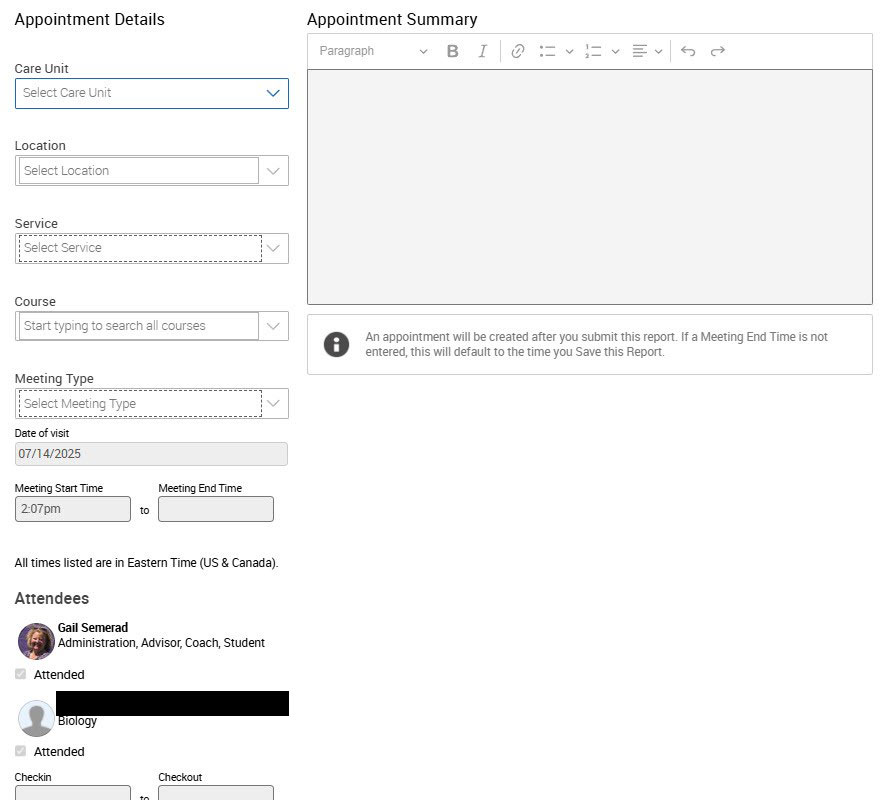
Example for a Transfer Advising>First Semester Appointment Summary (most fields will be auto-filled)
Your form will be updated to give you an opportunity to add additional details related to the student including a summary note section.
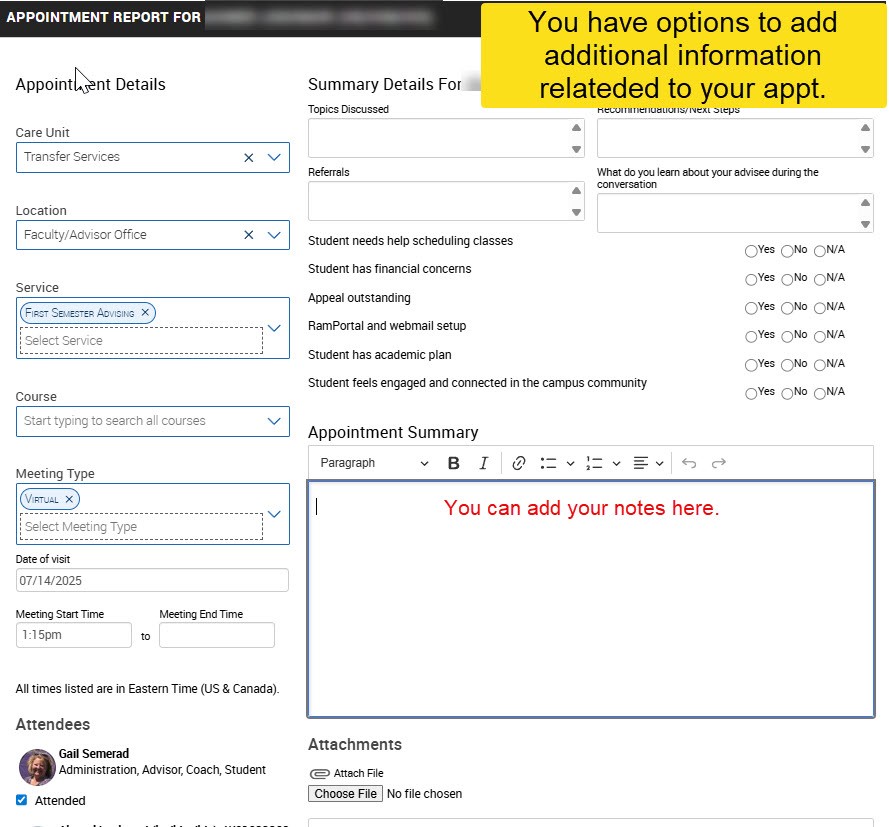
Save the Report when completed.
Once the student appointment summaries are saved, the “Report Filed Yet?” column on your Appointment section will change to “View Report.”