Making an Appointment Using the Navigate Mobile App/Desktop
Scheduling an Appointment
You can schedule appointments through the Appointments icon on your Navigate Student mobile app or desktop site.
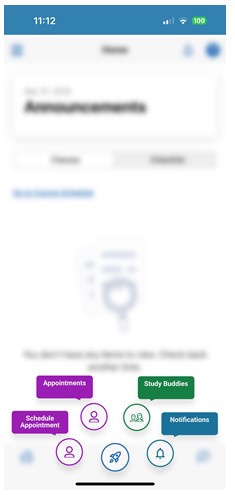
When you open Navigate student App, click on the Rocket to show quick launch features. Select Appointments.
You will see a list of upcoming appointments and appointment requests in the Upcoming or Appointment Invites sections.
The Appointment Invites is an important section to check regularly, and reply to.
You can view past appointments by choosing the History tab.

Select the appropriate button to start scheduling an appointment. The New Appointment page opens.
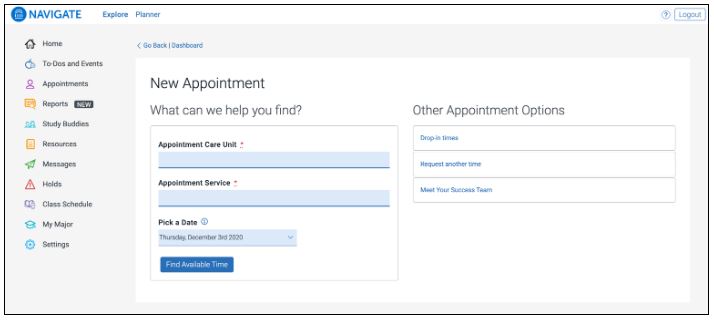
Students choose their Care Unit and Service.
Mobile App View

Desktop View
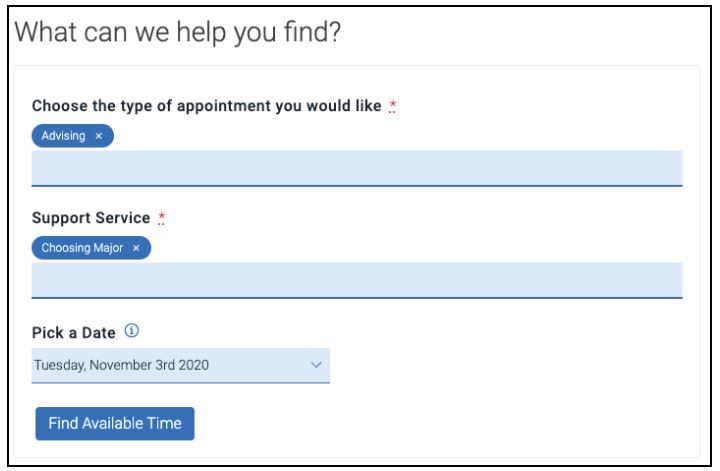
Once the Care Unit and Service are chosen, the student chooses a date and clicks Find Available Time. The next page appears.
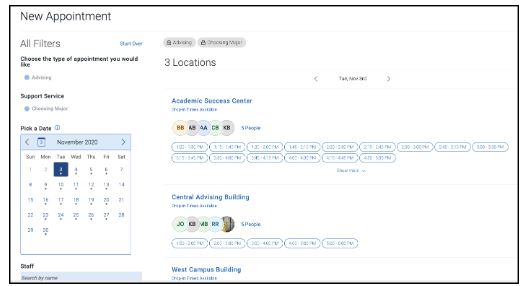
Desktop View
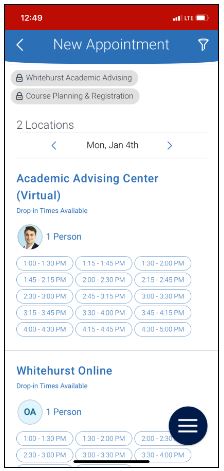
Mobile View
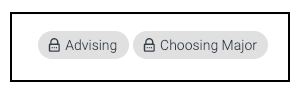
There are a number of new elements on this page. At the top of the page, students see the options they chose on the previous page. These options can't be changed unless they select the Start Over link. These options are shown as "locked" as in the image below.
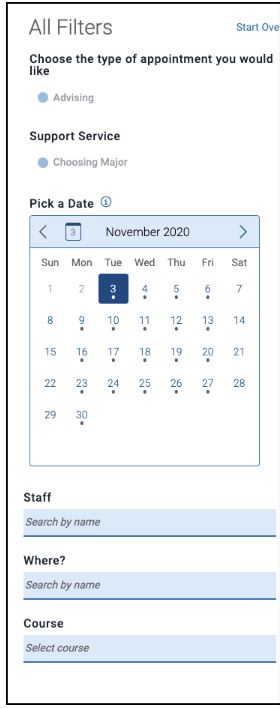
On the left (on desktop) is a filter panel that also shows the filters chosen, a calendar to pick a date for the appointment, and more filters to narrow appointment options. Students can narrow by staff name, location, and course and adjust those filters as needed. The main panel updates to reflect filtering automatically.
Important. When the student selects a date, the scheduling feature shows appointments from the start date until 30 days after the start date. Dates with available appointments will have a dot underneath them in the date picker calendar.
The main panel of the scheduling page shows available locations with appointment slots.
Desktop View

Mobile View
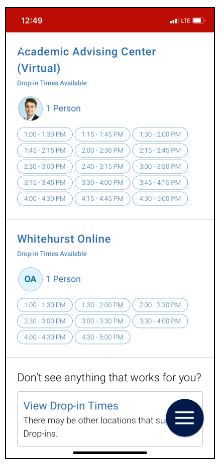
Students can select one of the time slots from the list. Students can also select the link that says # People to open a list of staff members.
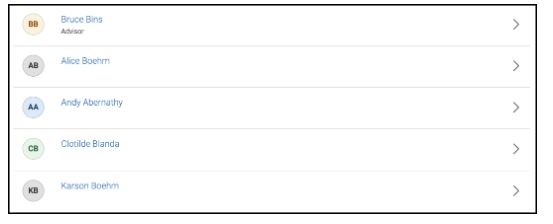
If the student chooses a staff member from the list, the appointment list shows only time slot that the staff member has available.
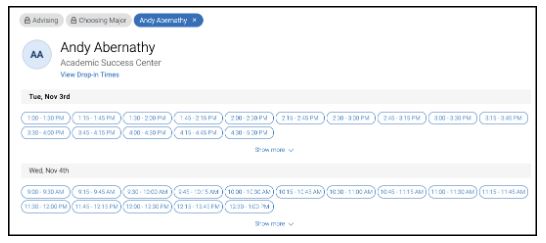
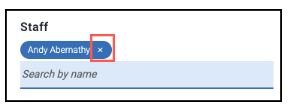
Note. Students can remove any option from their filters by clicking the X next to it.
If a student chooses a location that requires a course, they see the time slots for locations that don't require a course. For the location that is all course-based availability, they see a banner for the location requiring the student to choose a course before seeing time slots for the location. The courses available at the location are also listed.
If a student chooses a course in the filters or on the initial request page, the available time slots that show match location, course, available staff, and service even if these other options related to the course were not explicitly selected by the student first.
When a student chooses an appointment time, regardless of filters chosen, the Review Detail page opens.
Desktop View
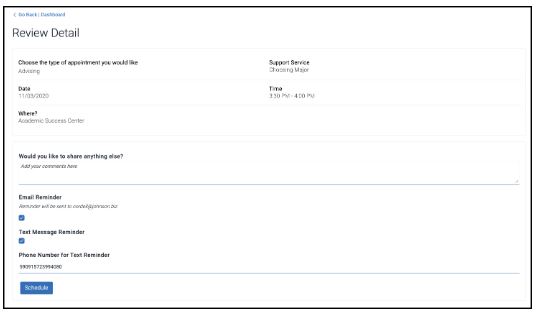
Mobile View

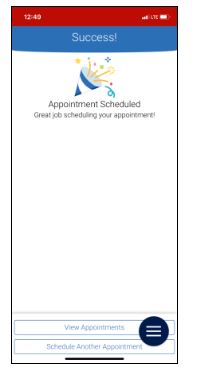
Students can enter a comment and decide if they want email or text reminders. Once all the options are set, students click Schedule. If their appointment is scheduled, students get a success message and the option to View Appointments or Schedule Another Appointment.