Basic Administrative Page Navigation
The key block, page header, sections, and bottom page display are used to navigate each page.
Keyblock
The first block on most pages contains key information. The key block determines what data is entered or displayed on the rest of the page. All the information on the page is related to the key block. The key block stays on the page as subsequent sections are displayed.
To access the body of the page:
- Populate the key block data
- Click Go

- When the cursor is in the key block, the fields that can be entered in the key block are enabled (text is black).
- When you leave the key block, the field in the key block are disabled (text is grey).
- Return to the key block from the body of a page by clicking Start Over.
Page Header

The page header identifies the open page name and provides easy access to key functions including:
- Page close icon
- Add and Retrieve Icons - used with Banner Document Management
- Related menu - displays a list of pages related to the open page
- Tools icon – perform standard actions and options for the page currently displayed
- Notification Center – located in the top right corner and displays only once a notification is triggered.
Notifications display the following types of information:
- Error Notification – Will display a “!” in a circle when message is displayed

b. Success Notification – Will display a checkmark in a circle when message is displayed.

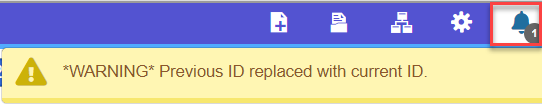
c. Warning Notification – Will display a “!” in a yield sign when message is displayed. Will also display two buttons, Yes/No, that must be selected to continue.
![]()
d. To open or close the Notification Center click in the box with the number in the page header.
![]()
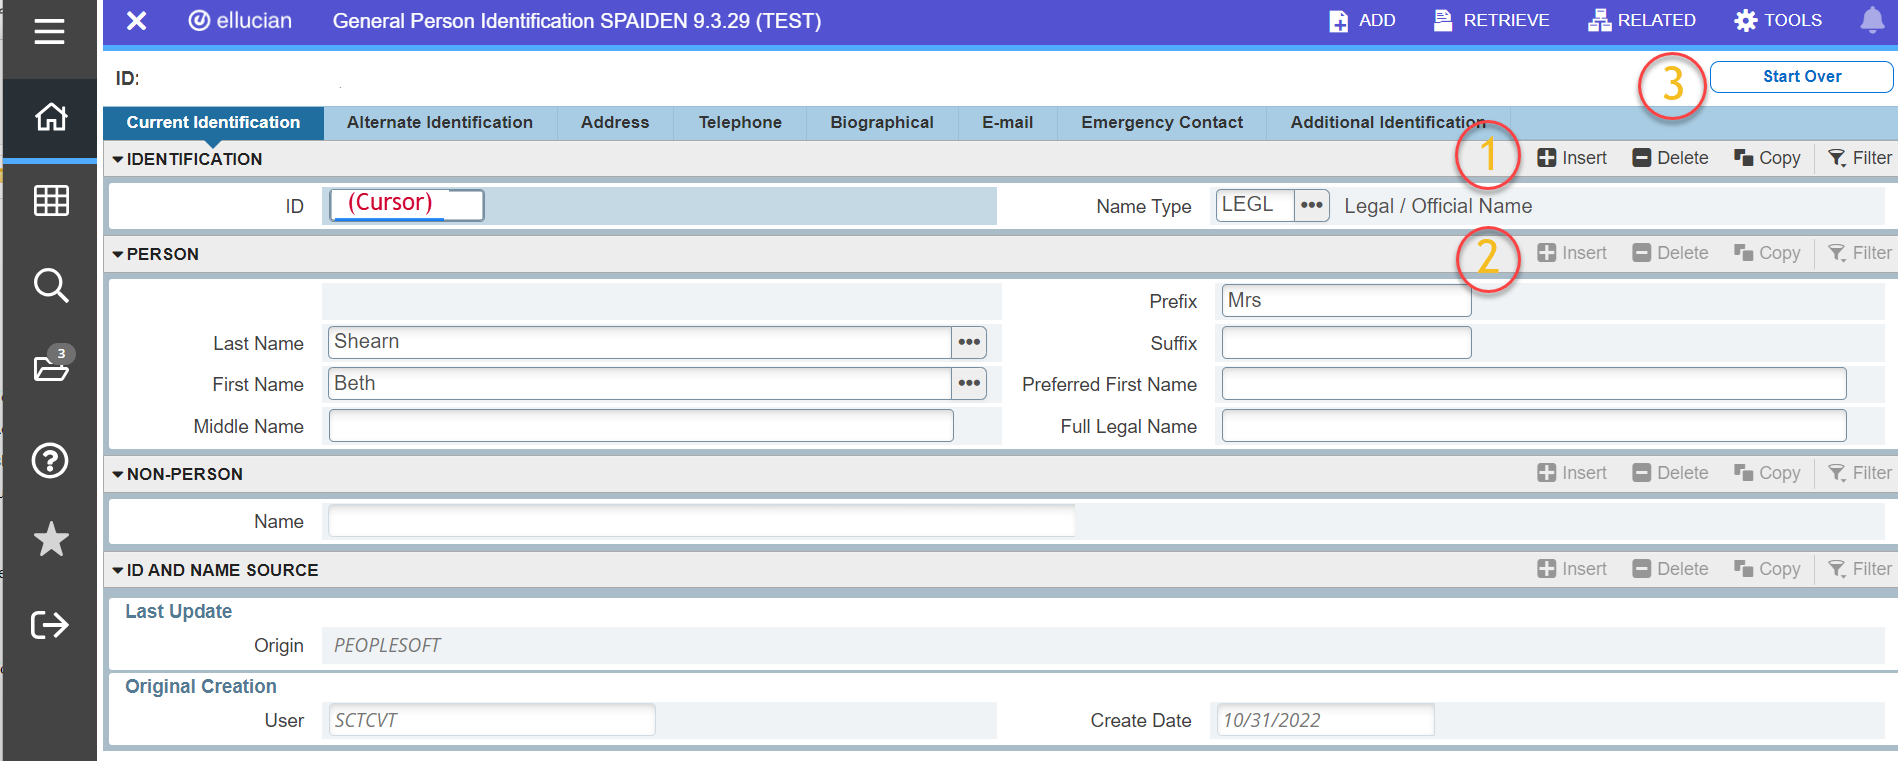
Sections
Pages are divided into sections and contain additional details related to the key block information. A section can represent one record or multiple records depending on the type of information that you are working on.
Each section contains a description of the information within it, action buttons and details specific to that section. Sections of data are accessed by scrolling up and down the page. Some sections are accessed by using tabs that are displayed across the top of the page.
Open or collapse any section by clicking on the arrow in the top left of the section, beside the section description.
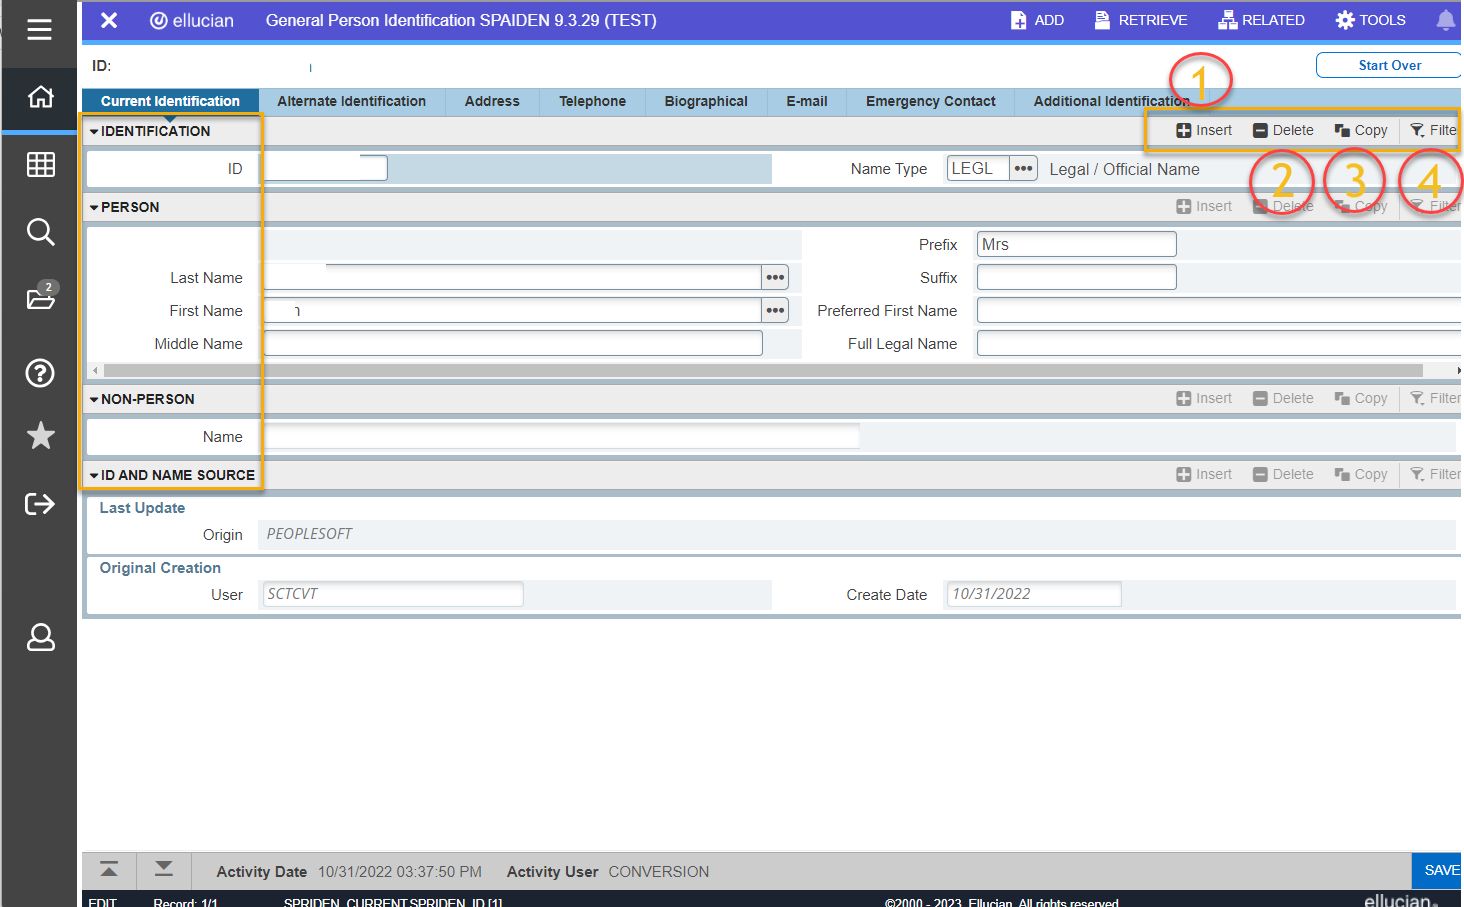
When the cursor is in a section the action buttons become enabled for that section. (Notice the action buttons in the first block are darker than other sections, indicating they are active). Action buttons include:
- Insert – insert records in this section
- Delete – delete records in this section
- Copy – copy records in the section
- Filter – filter records in the section
- More Information – this will appear if supplemental data can be entered for the record. This icon is displayed as a check mark if supplemental data already exists for the record.
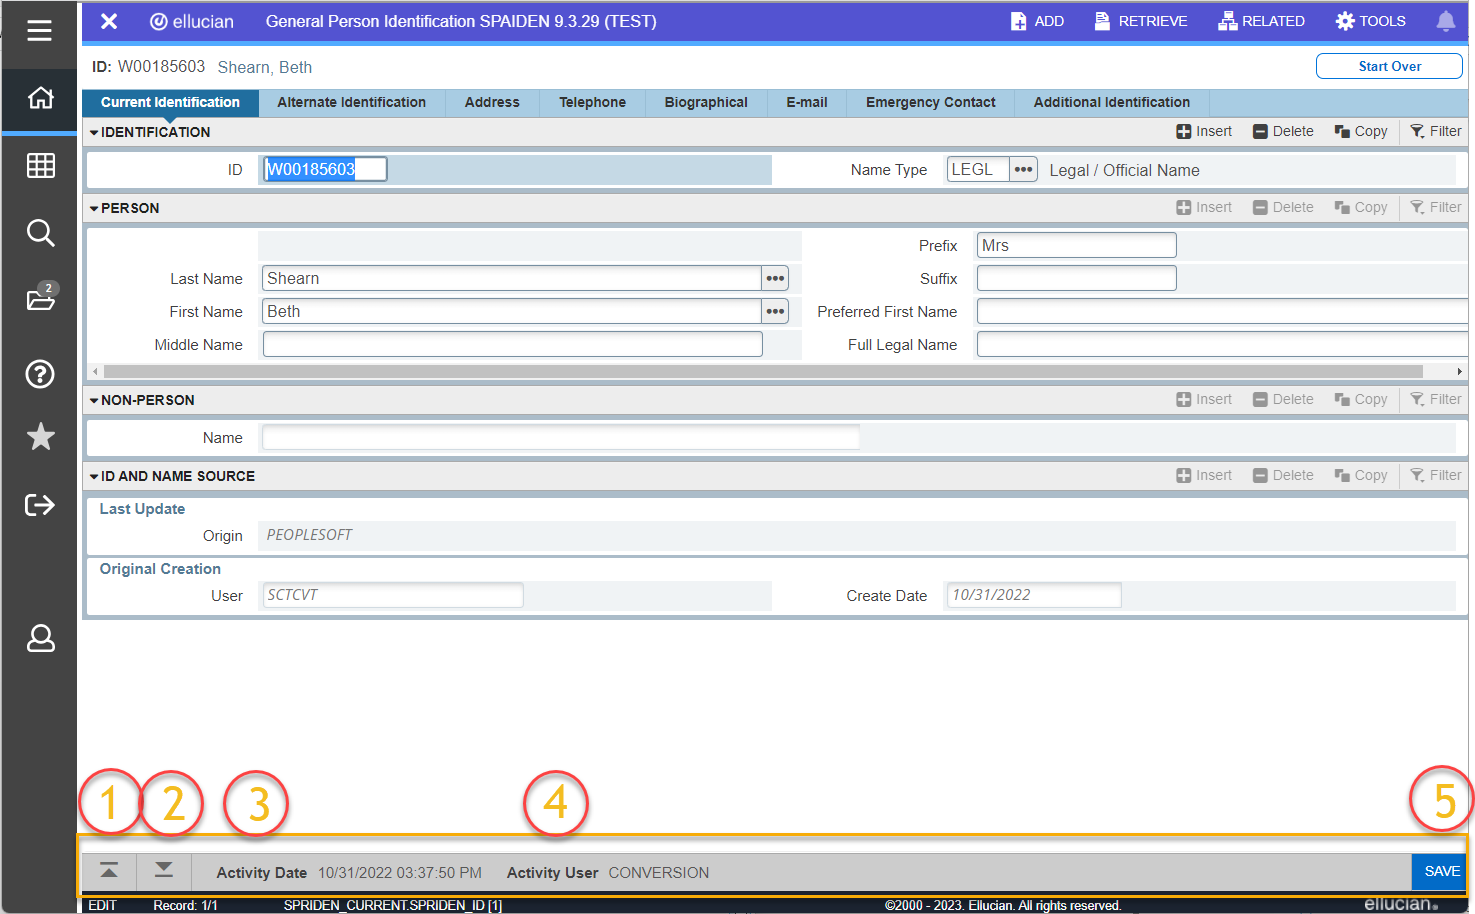
Bottom Section Navigation
The bottom of the page contains icons to be used for navigation, to perform functions, and displays additional data.
- Previous Section button – takes you backwards in the sections (Alt+Page Up)
- Next Section button – takes you to the next section of the page (Alt+Page Down)
- Activity Date – time stamped of when the record was created or modified
- Activity User – name of account user who created or last modified the record
- Save button – click to save your data
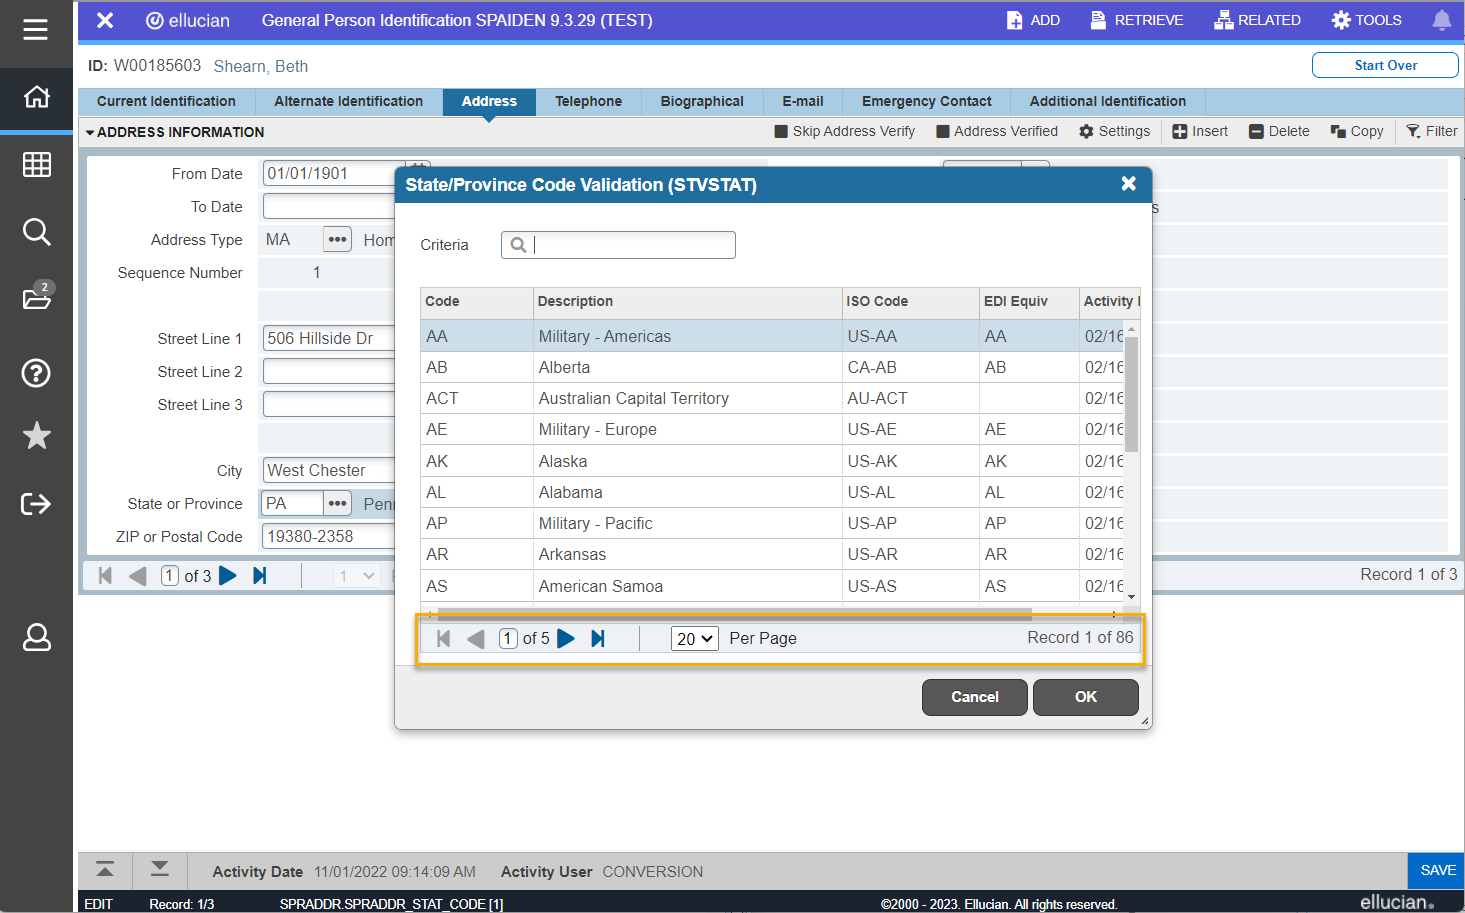
Lookup (List of Values)
Use the Lookup feature to quickly find a value for a field. The Lookup button next to a field indicates that the field has the Lookup feature.
- Click the Lookup button
 , enter a filter value.
 - Press Enter to display results that match the filter criteria.
- Select a value and click OK or double-click a value to return the value to the page.
TIP: When utilizing the Lookup option, you can perform either exact match lookups or partial match lookups when some of the information is unknown. To perform a partial match lookup use a “%” to replace the unknown information. For example, when searching for a student with an incomplete ID number enter the known information as A0055%47%.
TIP: When you are in the key block and all you see is an id field, press the Tab key, and this will allow you to enter a name search.
Required fields and pagination controls
Required Fields - An asterisk (*) displayed next to a field name indicates that the field requires
a value before continuing. If a user leaves a section or a page without entering information
in a required field, an error message will appear in the Notification Center, requiring
the user to perform some additional action. (Notification Center icon is located in the top right corner of the screen.) ![]()
Pagination controls - Change the number of records that are displayed on each page by adjusting the Per Page drop down options, then use the pagination controls to view the data. (First, last, next, previous, or specific page number).
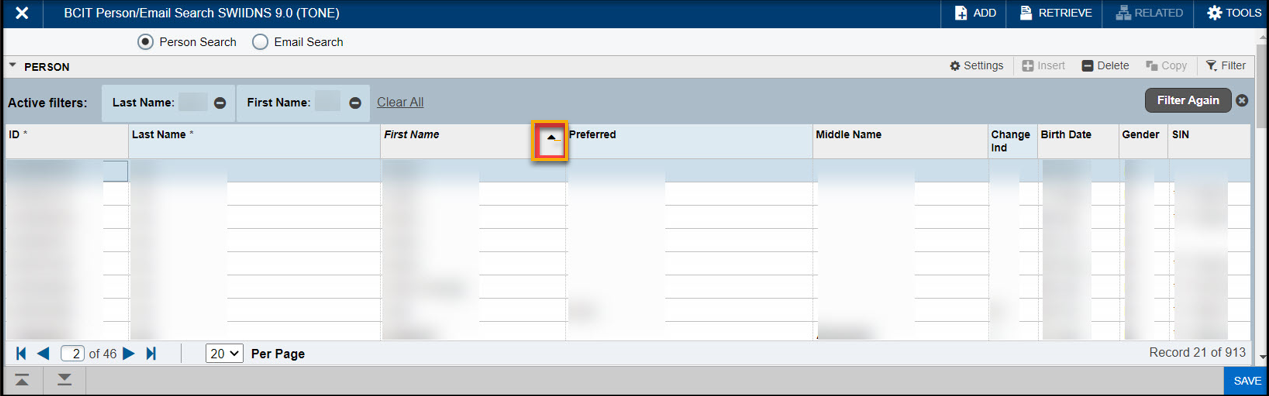
Sort Order
In a grid layout, values for a field can be sorted by clicking on the title of the column. If you have chosen to sort the data, an up or down arrow next to the field name indicates the current sort order for the field. Click the field label to reverse the sort order.
Dates
Enter the date directly into a cell or use the calendar icon for date selection. The date format can be entered as DDMMYY or DD-MON-YY.
TIP: To enter the current date, type any letter and Tab.
Buttons
Add & Retrieve - Use the Add and Retrieve buttons to interact with Banner Document Management to properly store and review documents.
Go - Use the Go button to advance to the body of the page after populating the key block.
Save - Use the Save button to save changes on the page. The Save button is located on the bottom right side of the page.
Section Navigation - Use the Next Section button to navigate to the next section of data. Use the Previous Section button to navigate to the previous section of data. The Next Section and Previous Section buttons are located at the bottom left of each page.
Select and Cancel - Use the Select button to select and retrieve data from a called page to the current page. Use the Cancel button to return to the called page without retrieving any data. To go to a secondary or called page to retrieve data, the Select and Cancel are presented at the bottom of the page.
Start Over - Use the Start Over button to return to the key block of the page.
Person Search
This section provides instruction to search for a person's information within the RamPortal administrative pages.
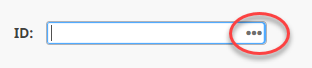
1. If you have the ID of the person you wish to search, type it in the ID key block. Note: the RamPortal ID is the “W0”(zero) + WCU ID. If you do not have an ID for the person you wish to search, perform a “Person Search” by clicking the three dots in the ID search box.
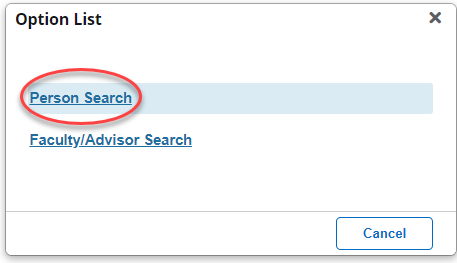
2. Click “Person Search”. (Additional search options will vary based on role.)
3. Type in any information you have about the person, such as last and first name
(see below).
4. Note the "Case Insensitive Query" and "Case Sensitive Query" options at the bottom.
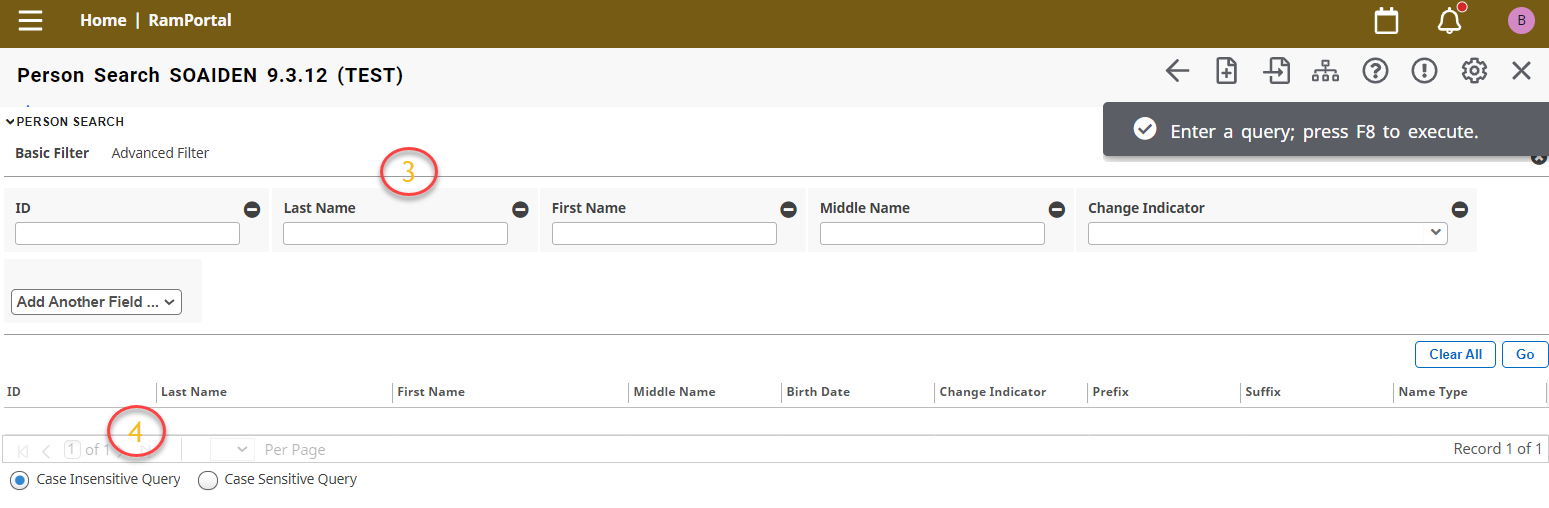
5. If you have an extensive list and don’t see the appropriate name, use the toggle arrow on the lower left to move through the result pages.
-
- If you see duplicates of the same name with the WCU ID and the WCU ID preceded by "W0", you can choose either. We have displayed both the old and new ID's temporarily during the transition to the new system.
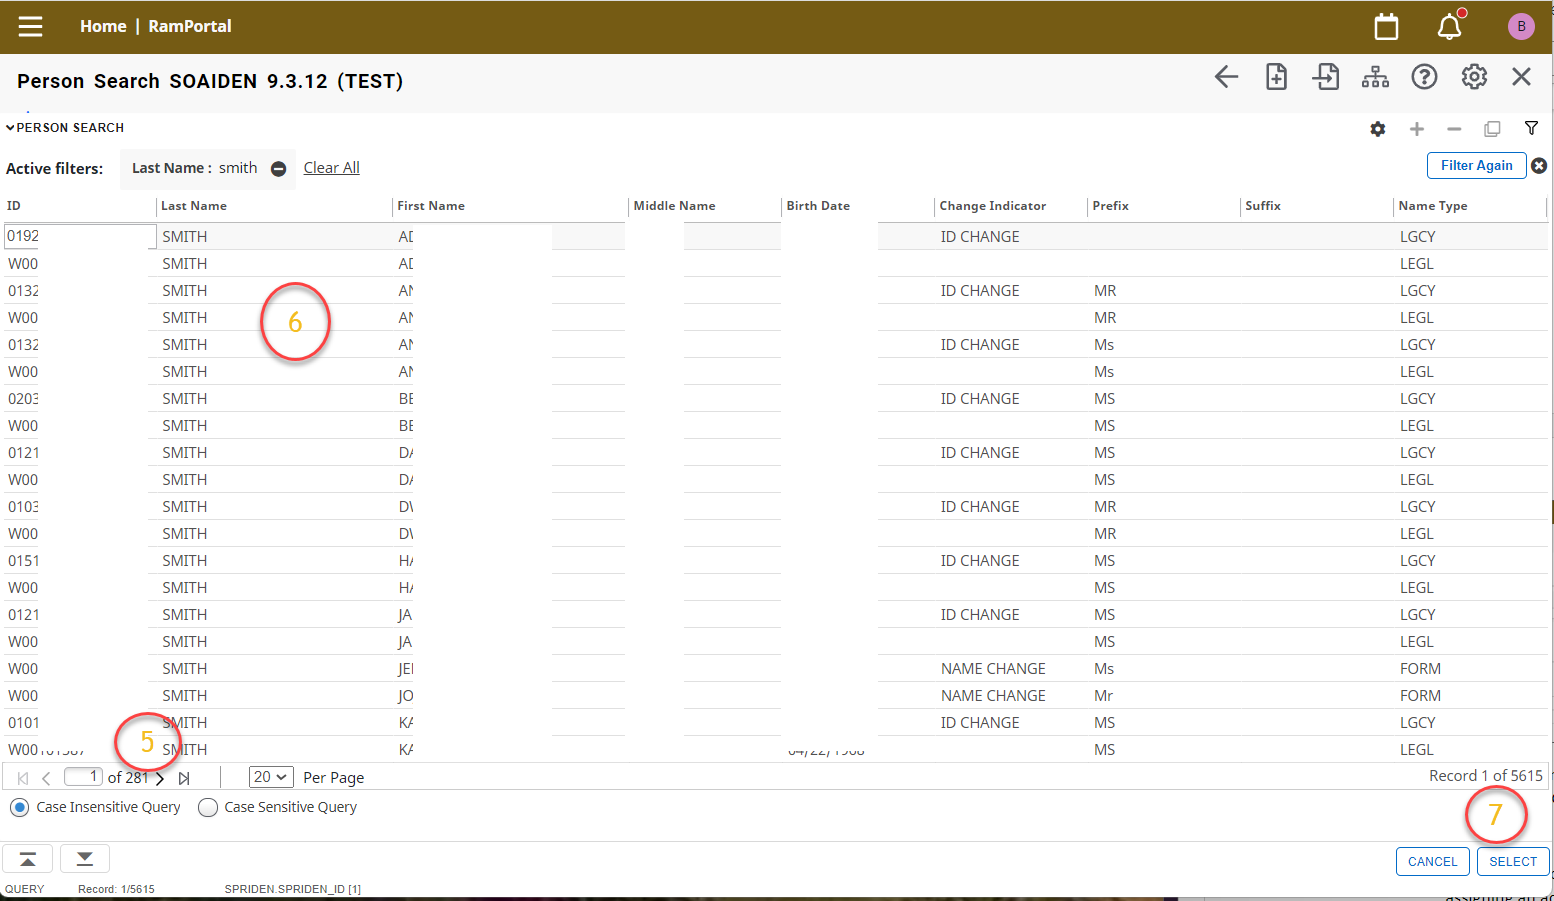
6. Click on the appropriate name.
7. Click “Select” on the bottom right, which will return you to the previous page and populate the ID and name information.
8. When performing the Person Search, if you receive the warning below, you may remove it by clicking the bell in the top right corner. As mentioned above, each person is listed twice in the search, first with their WCUID, and second with a new ID used for the RamPortal system which begins with “W0 (zero)”. The system has been configured so you may choose either, to avoid confusion. This warning appears if you choose the original WCUID and may be disregarded.